How to Post on Instagram From a Browser Window in 2025
For a long time, using Instagram from a browser window was purely for viewing content and managing your account. You couldn’t post from your computer. The “create” button was intentionally omitted from the Instagram website to encourage users to post and engage with the app. But now, you can post to Instagram from a browser window as easily as you can post on your phone!
Why You Should Know How to Post on Instagram From a Browser
For the casual Instagram user, the ability to post on the platform through a web browser may not be that big of an update, but for content creators, social media managers, or anyone who works with social media and customer relationship management, it’s a huge time saver.
Before, you had to manually send photos and videos from your computer to your phone to post on Instagram, which can be quite time-consuming. When you’re drowning in work and scrambling to create and post content for numerous clients, eliminating that extra step makes all the difference in the world.
So, Can You Post on Instagram From a Browser Now?
Indeed, you can. This feature has been long awaited by social media professionals. Whether you’re managing social media for a car dealer, a real estate agency, or multiple businesses at once, posting Instagram content directly from a web browser is extremely time-efficient.
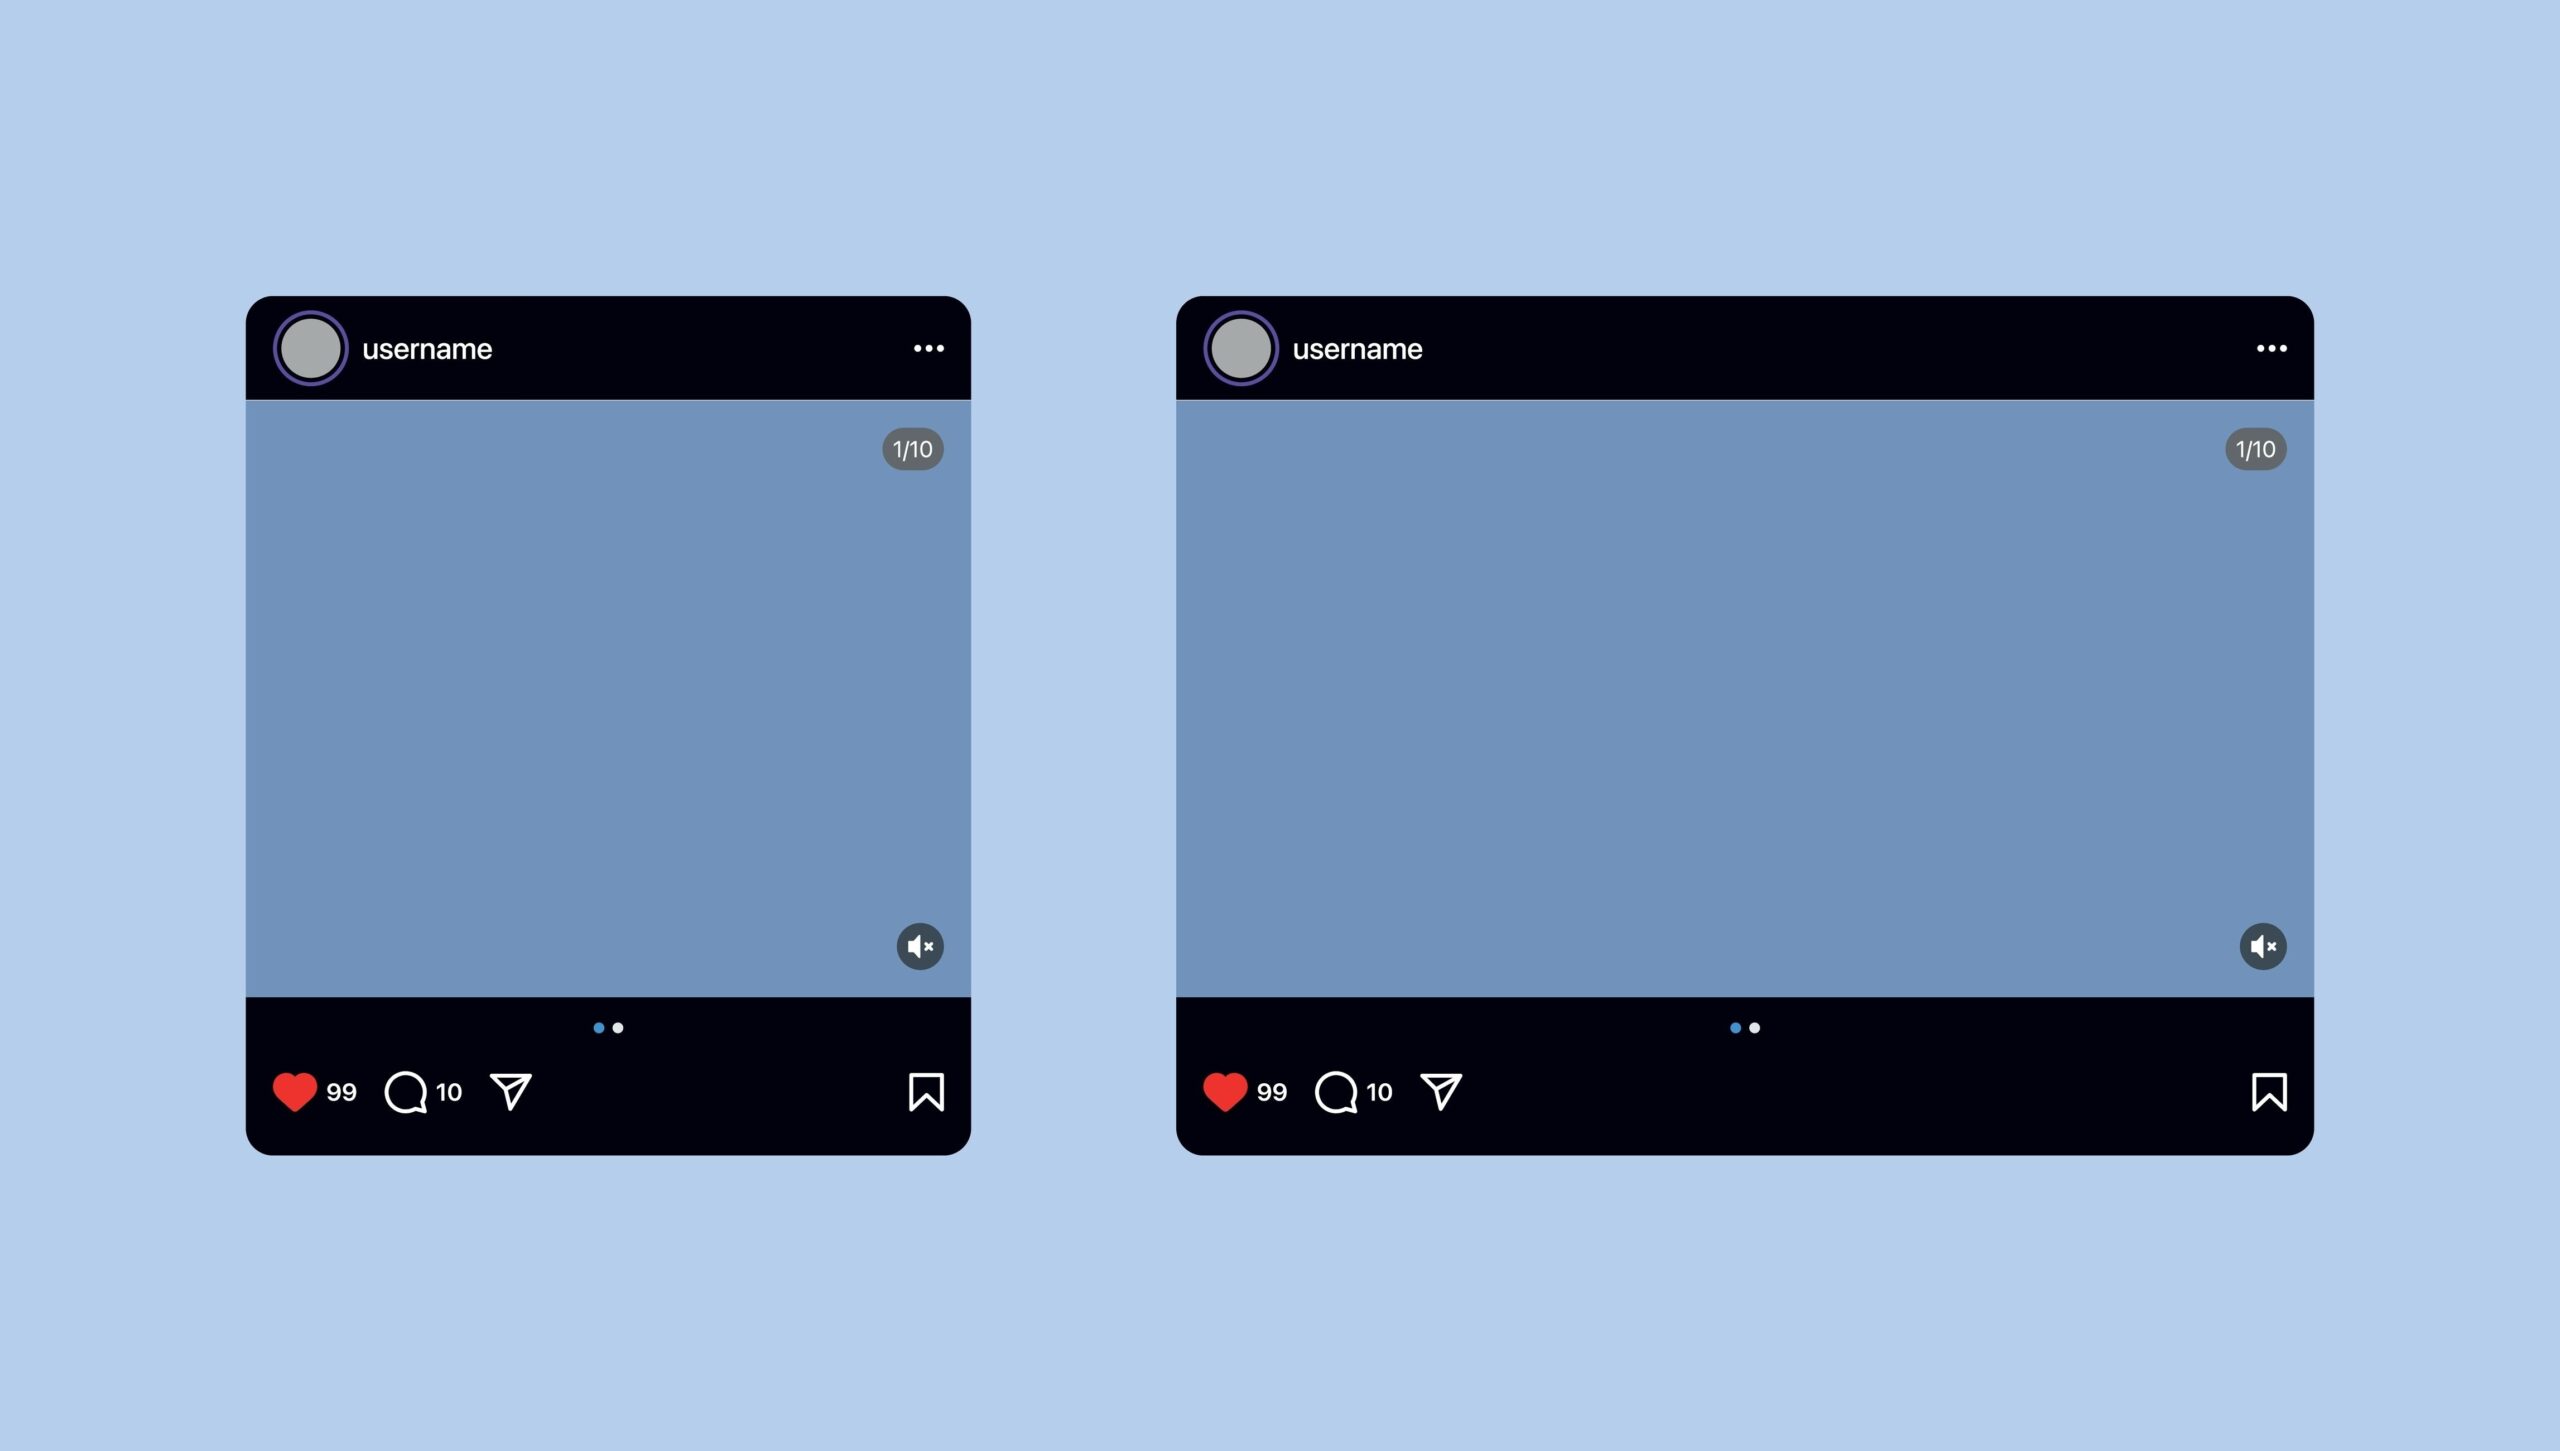
Can you post to Instagram through a phone browser?
If you need to post on Instagram through your phone, but don’t have the app, you can post through your phone browser. However, many of the more advanced editing features will not be available. When posting from your phone browser you are only able to apply a filter and crop your post.
Instagram Web Browser Limitations
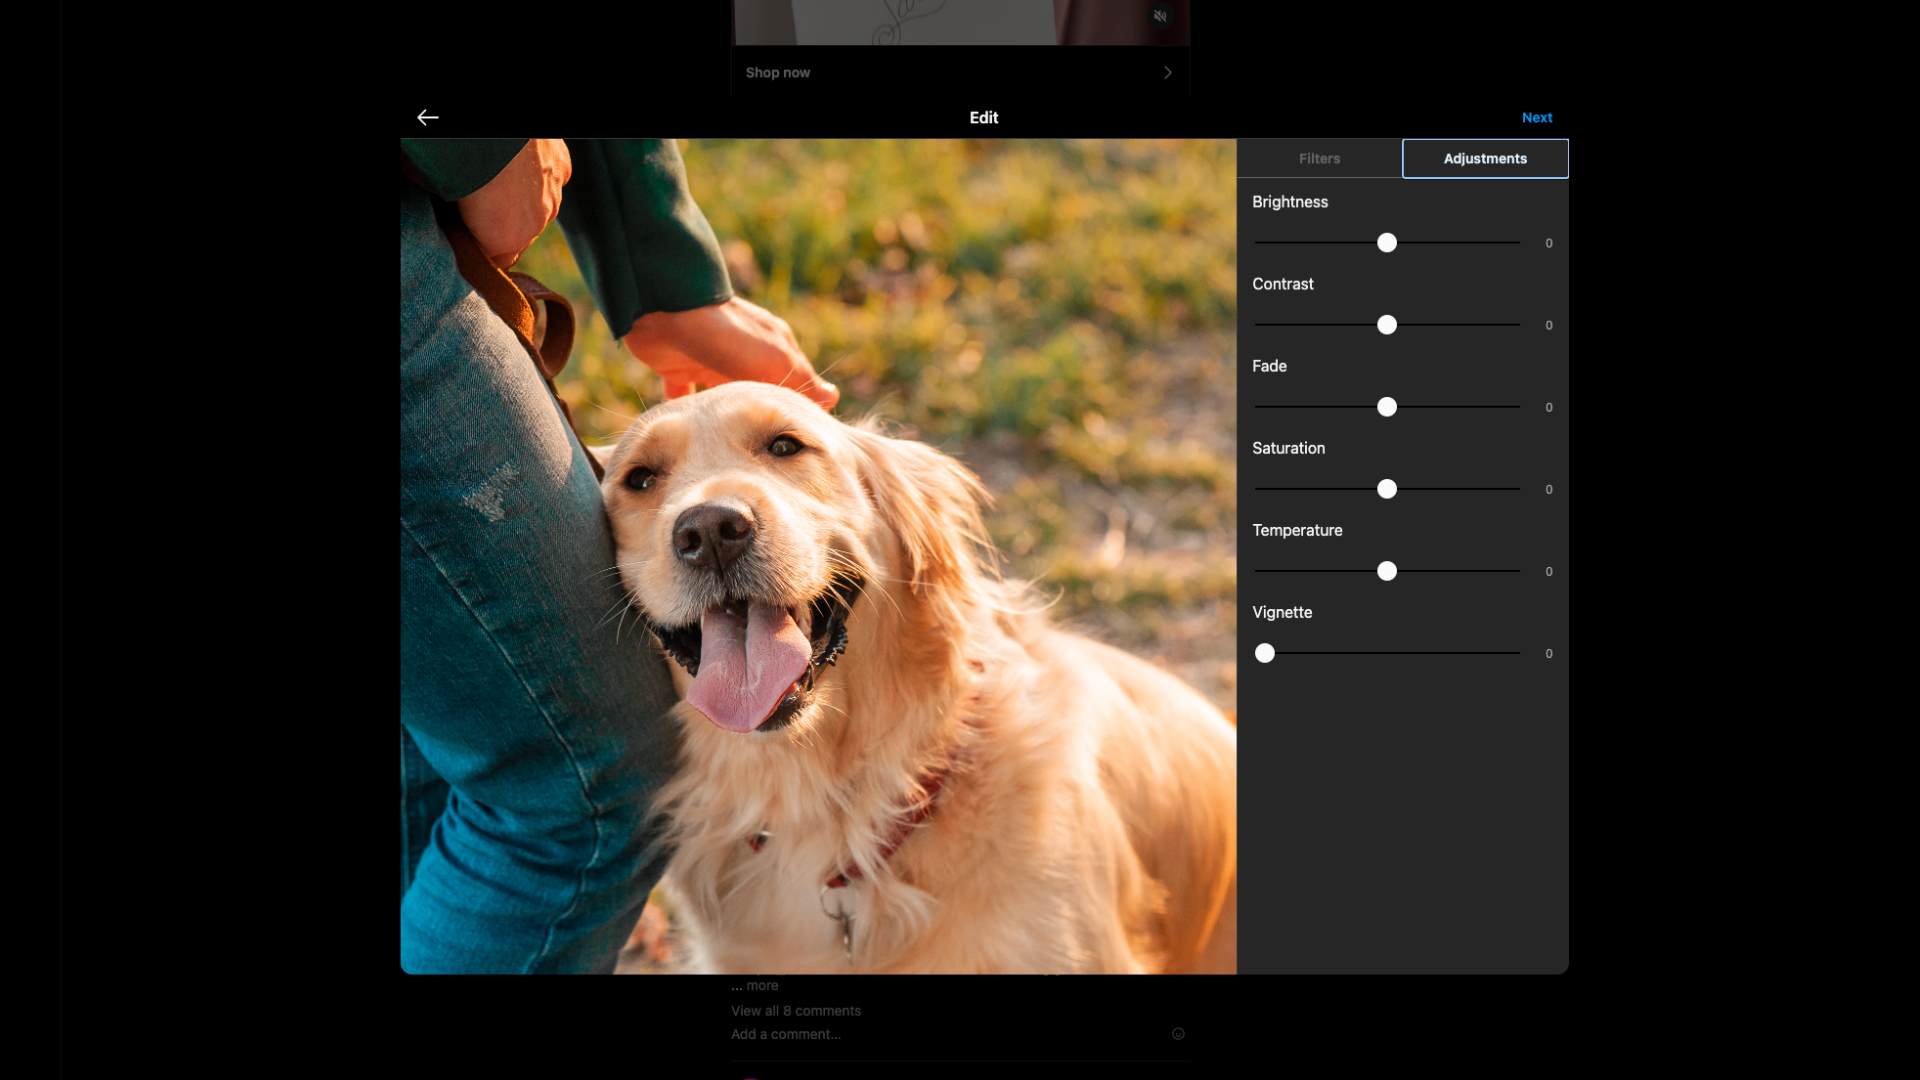
When posting on Instagram from a web browser on your computer, there is a bit more freedom than posting on a web browser on your phone, as there are more editing options (adjust brightness, contrast, etc.) However, there are a number of limitations when using Instagram through a web browser. Although you can view stories on Instagram through the web, you cannot post them. You also, sadly, still cannot schedule Instagram posts through the website on your browser.
There are some major editing limitations when posting videos to Instagram through a web browser versus the mobile app. On a web browser, you only have the option to crop, trim and select a cover photo for your video. Other video editing features such as, adding text, voiceovers, adding and importing audio, etc. are exclusive to the mobile app.
How to Post on Instagram From a Browser
Before this Instagram update, third-party software was required to post on Instagram from your computer, but now, posting from a web browser is a piece of cake!
-
Step 1: Open Instagram on your preferred browser.
-
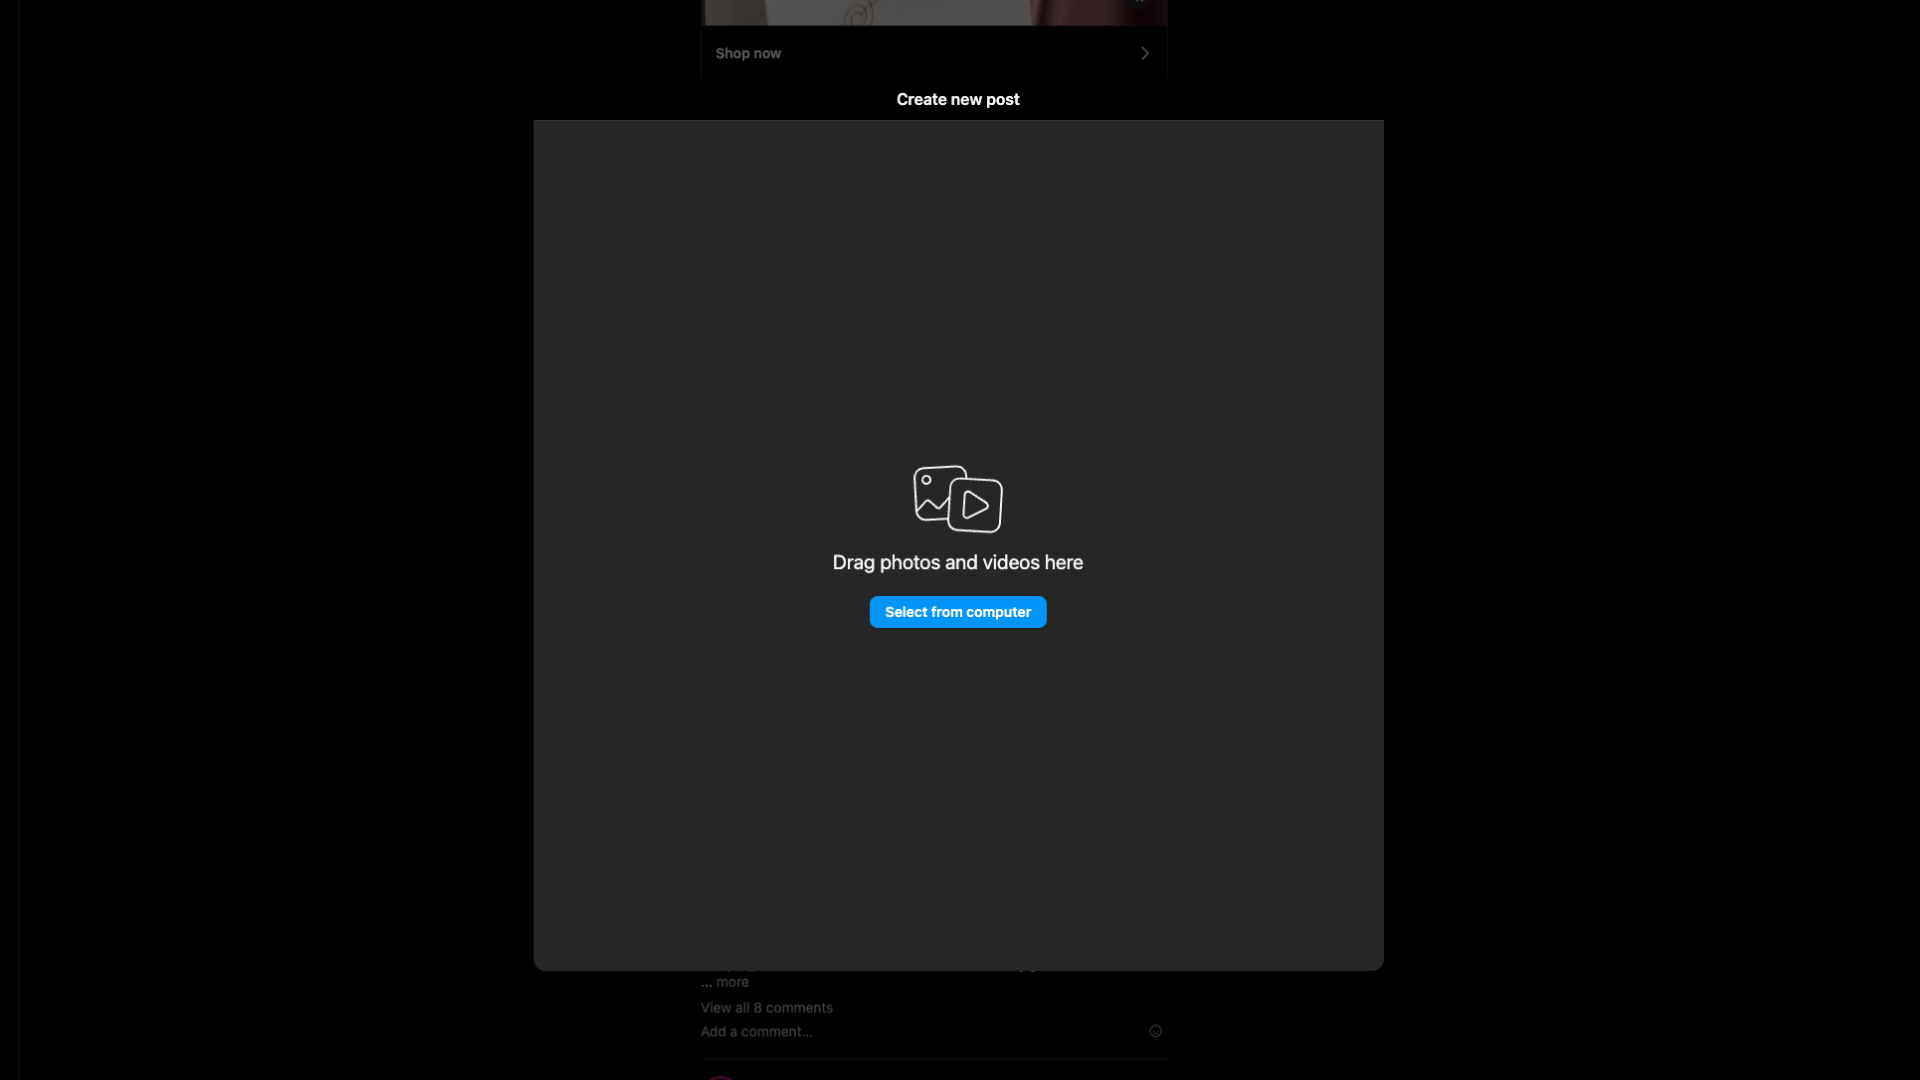
Step 2: Click the Create button on the left-hand side. Select the Post option.

-
Step 3: Drag the photo you want to post into the box or select a file from your computer.
-
Step 4: Like you would on the mobile app, crop the image to your liking or make adjustments to it.
-
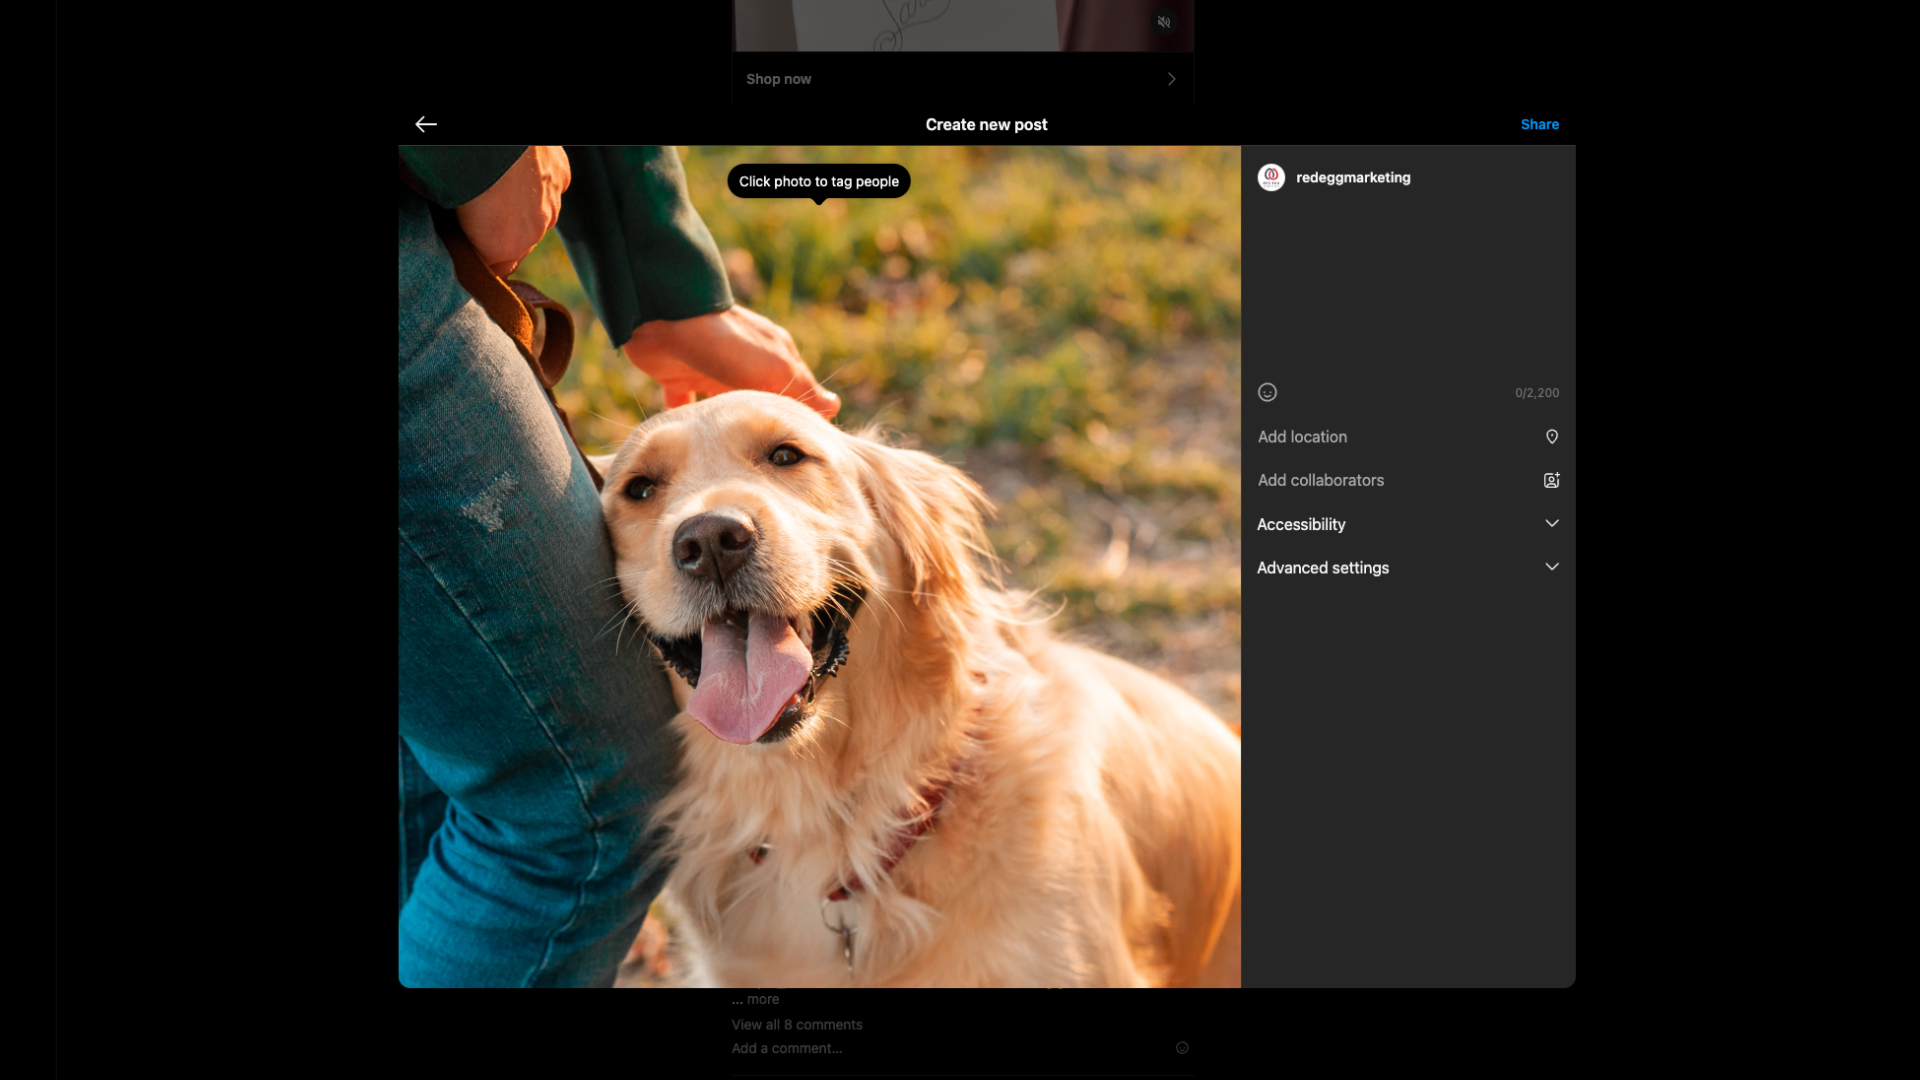
Step 5: Come up with an eye-catching caption and post away!


How to Post Videos on Instagram From a Browser
To post a video on Instagram through a web browser, follow the instructions above, but select the video you want to post! As mentioned before, your editing capabilities will be limited when posting an Instagram video from a web browser.
Tips for Scheduling Your Instagram Posts
While it’s awesome that Instagram finally allows you to post content through a web browser, you’ll have to utilize third-party software in order to schedule posts from your computer. Luckily, there are a number of reliable, user-friendly programs to schedule content with!
Scheduling Instagram Content through Hootsuite
Hootsuite is a popular social media management software that allows users to post content right away or schedule it for a later date.
-
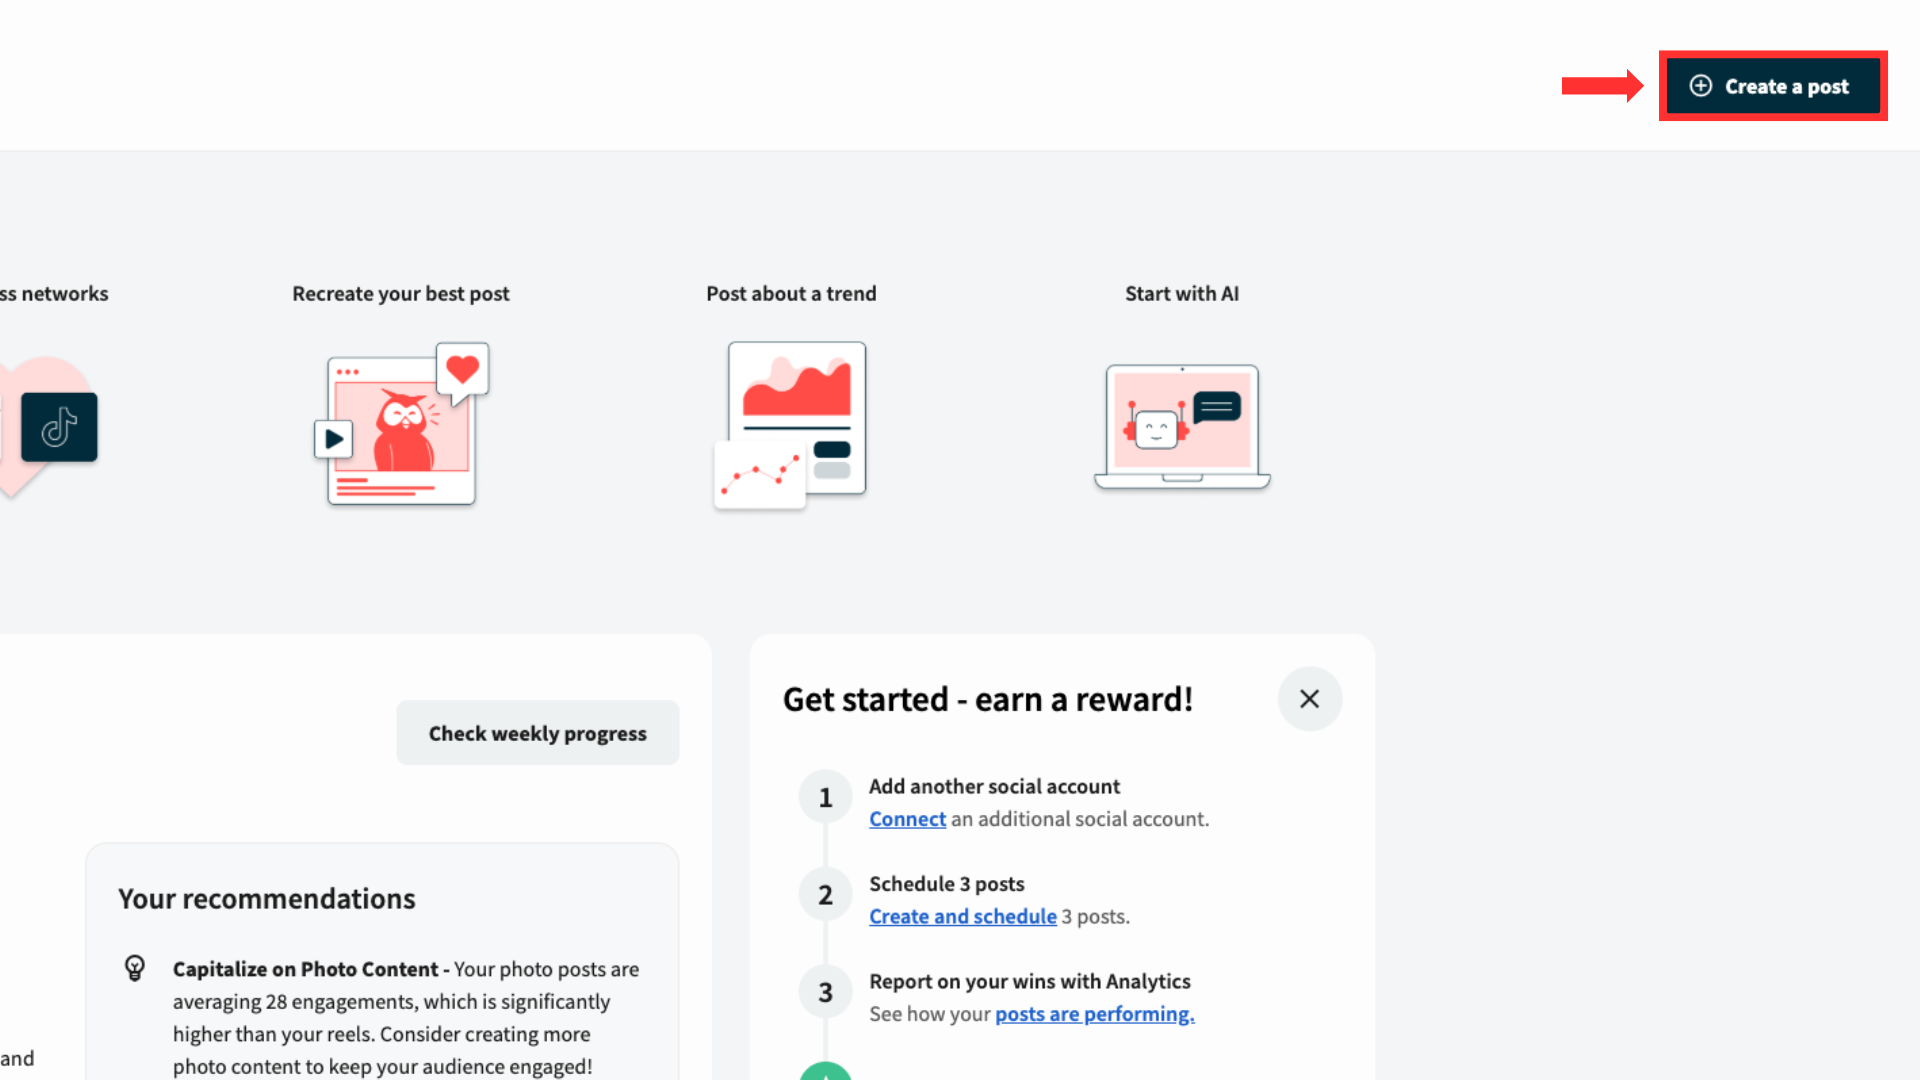
Step 1: Create your Hootsuite account and select the Create a post button in the top right-hand corner of the Home page.
-
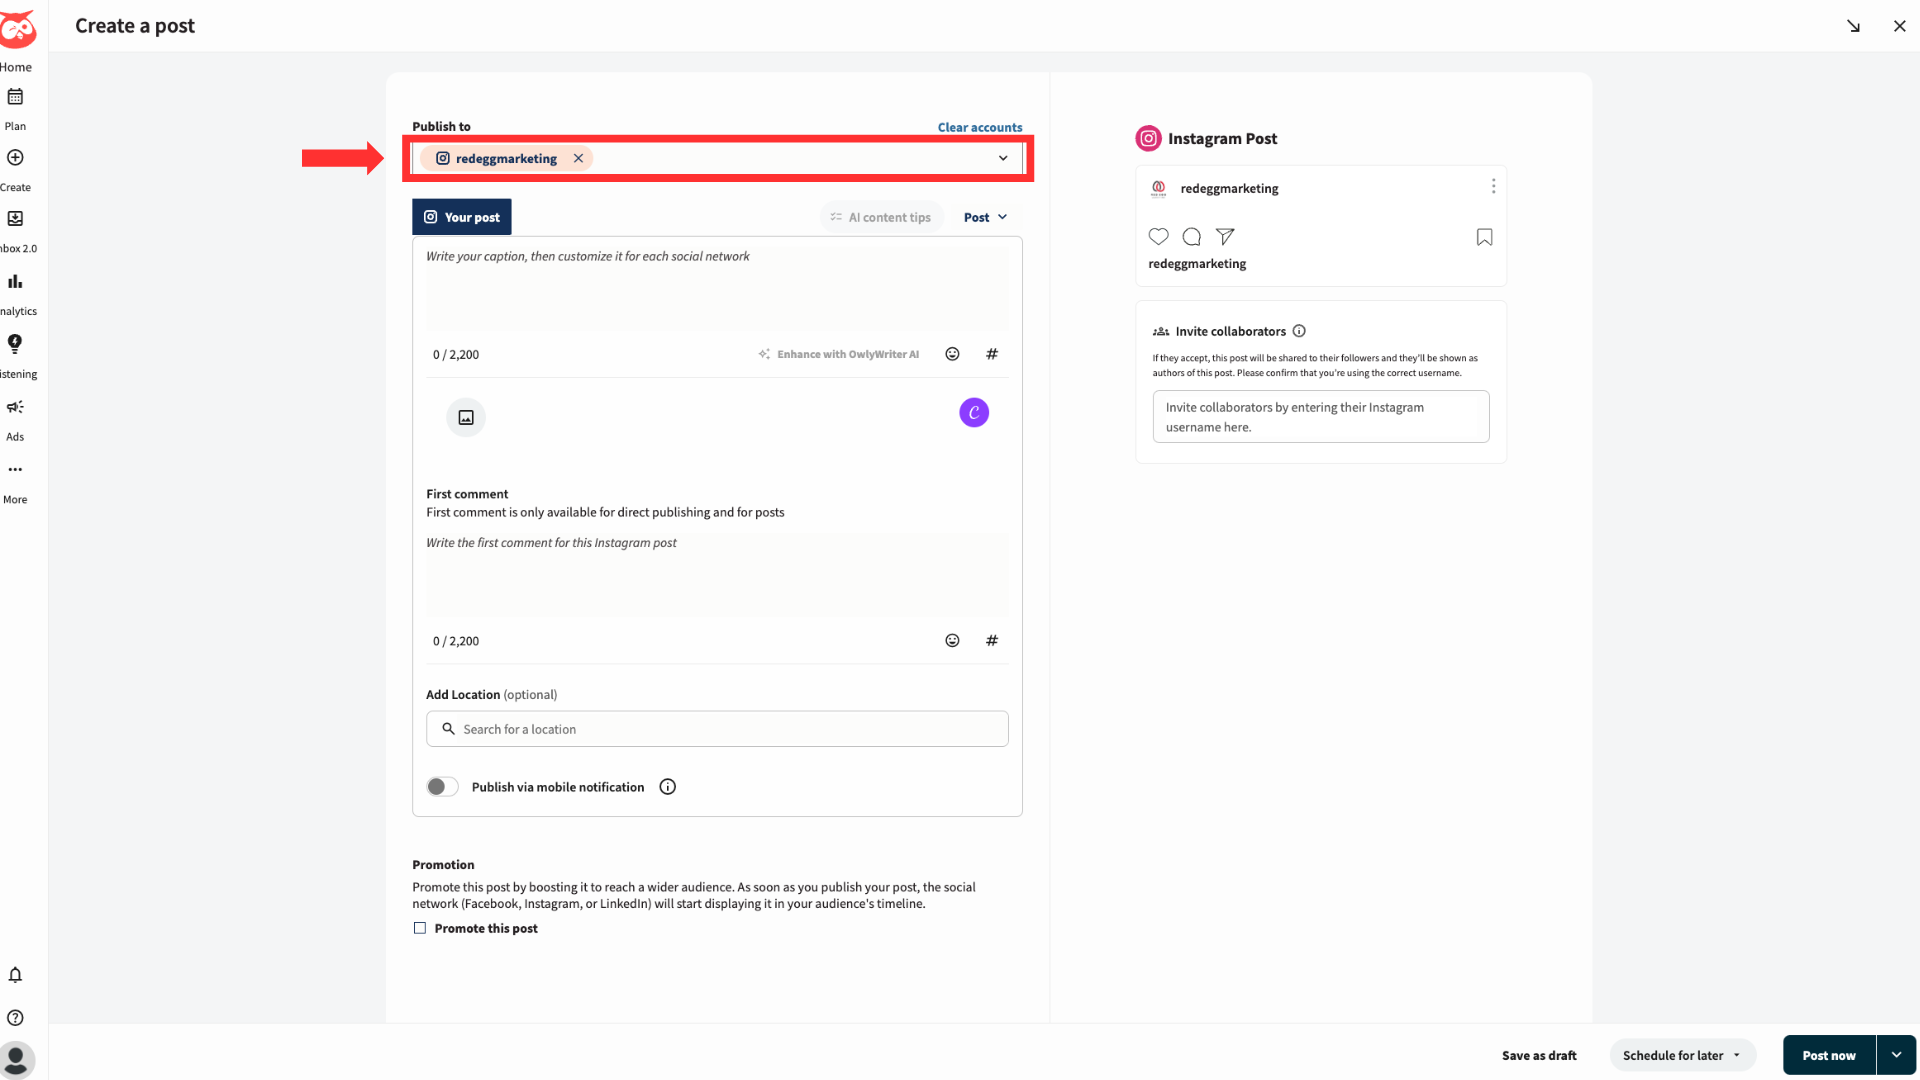
Step 2: Connect your Instagram account, then select it from the drop-down menu under Publish to.
-
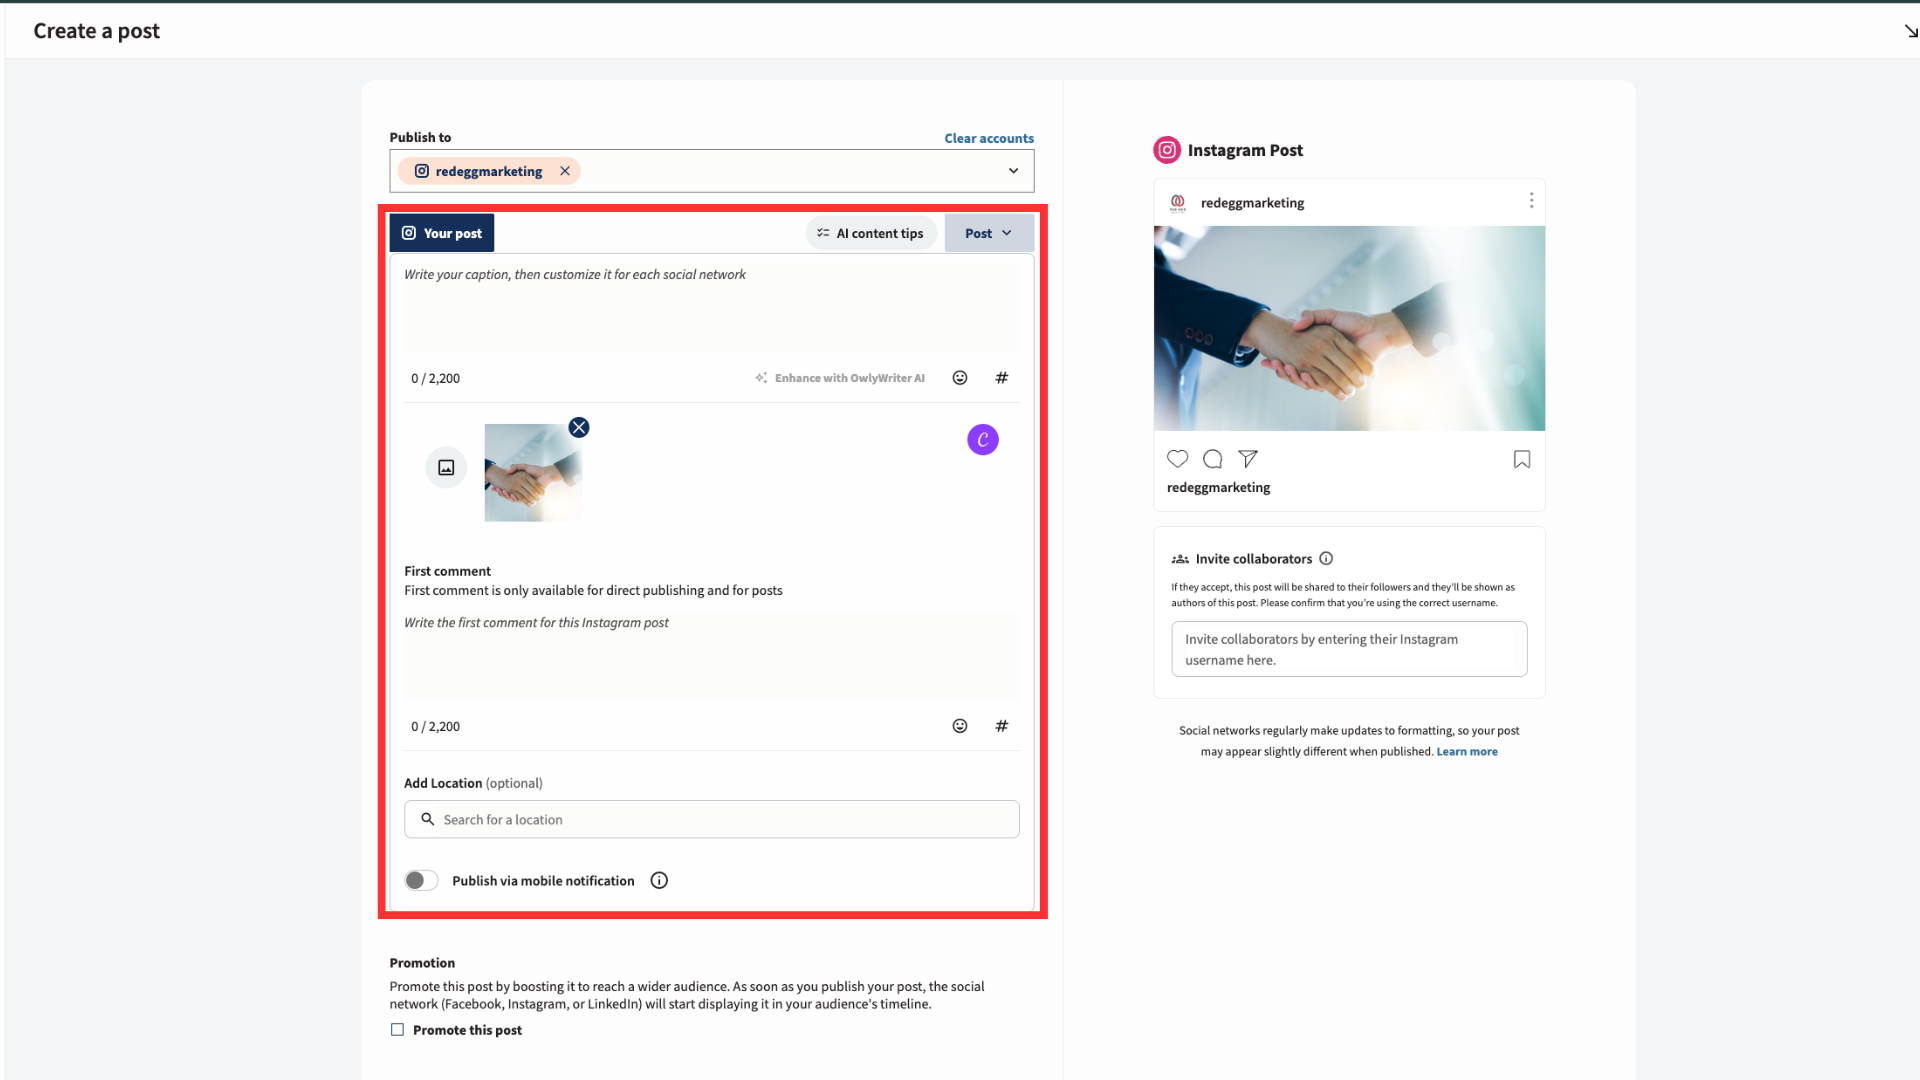
Step 3: Upload your photo or video and write your caption.
-
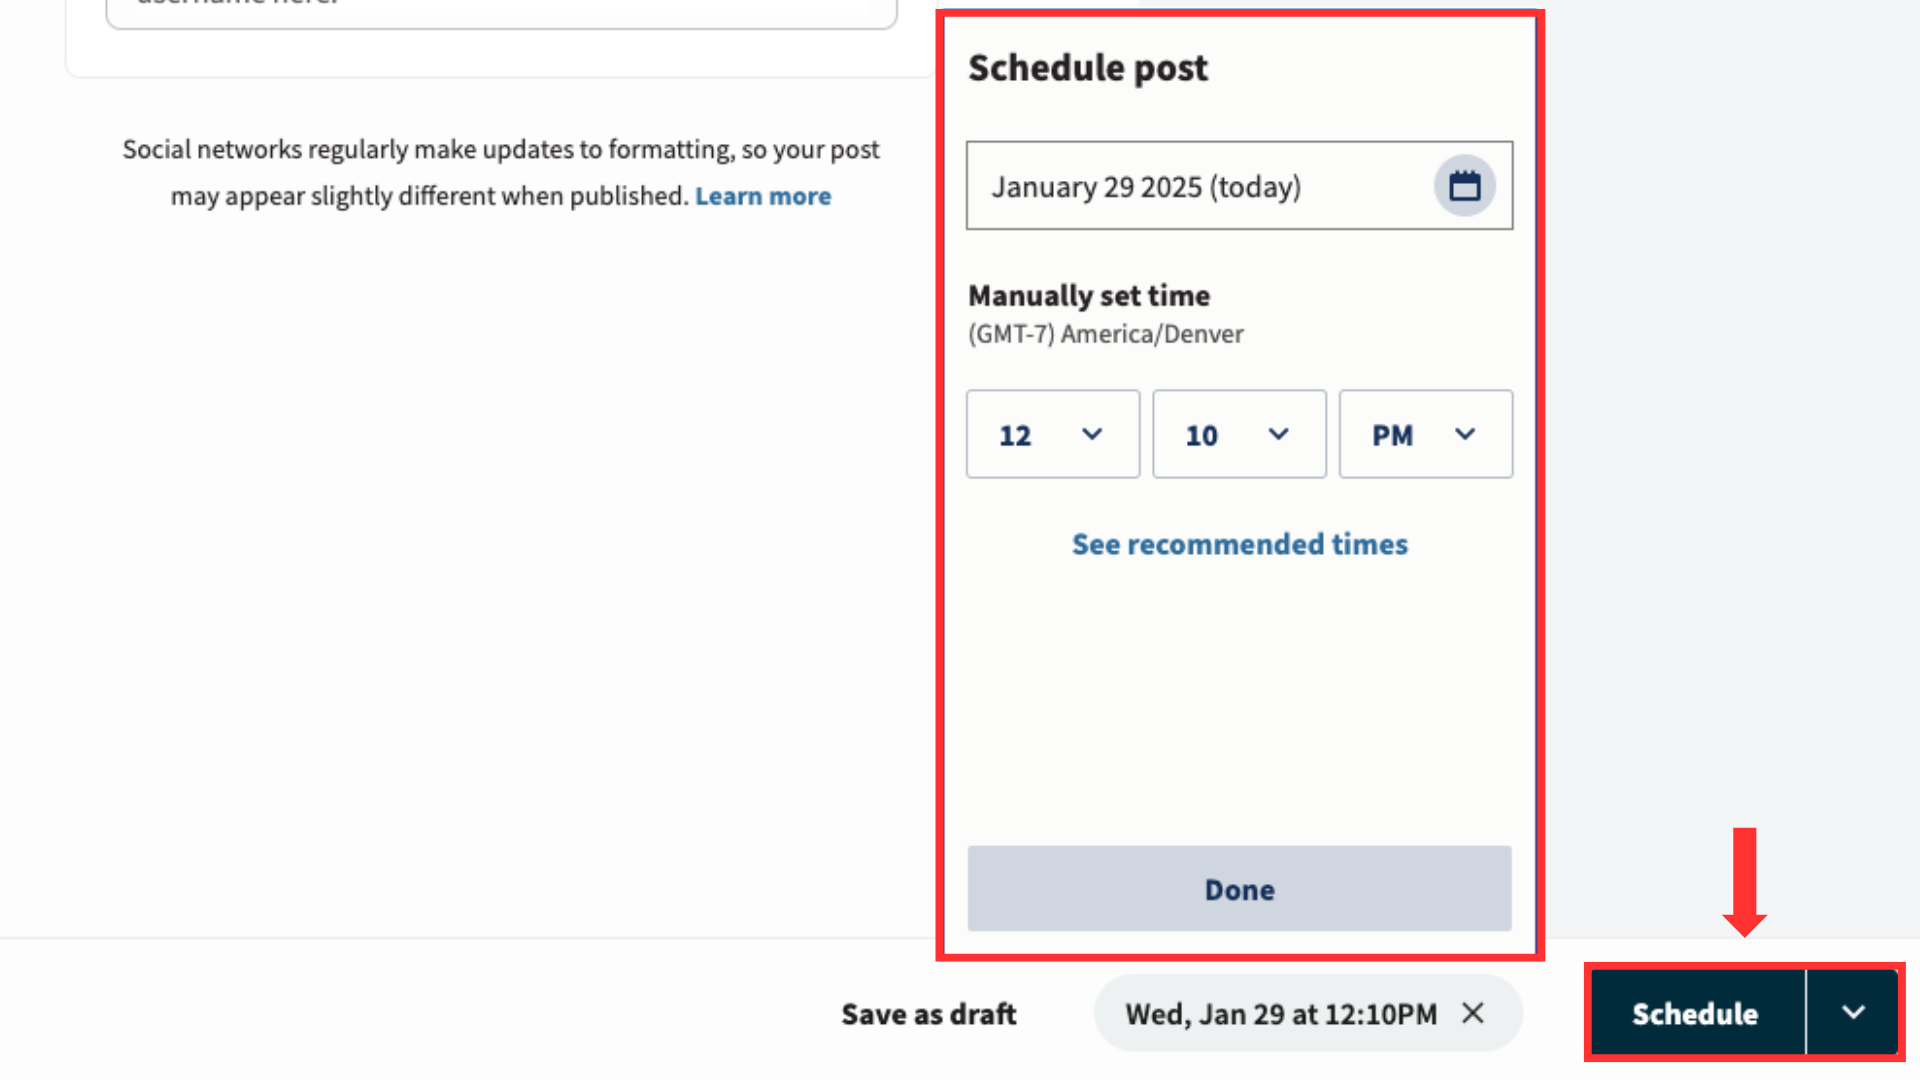
Step 4: Schedule your post by clicking the Schedule for later button in the bottom right corner. Select a date and time for your post and click Schedule.
Scheduling Instagram Content through Meta Business Suite
Another popular platform for posting and scheduling Instagram content is Meta Business Suite. With Meta Business Suite, you can manage your Facebook and Instagram accounts in one place and easily schedule content across both profiles.
-
Step 1: Create your Meta Business Suite account by linking your Facebook or Instagram business profile.
-
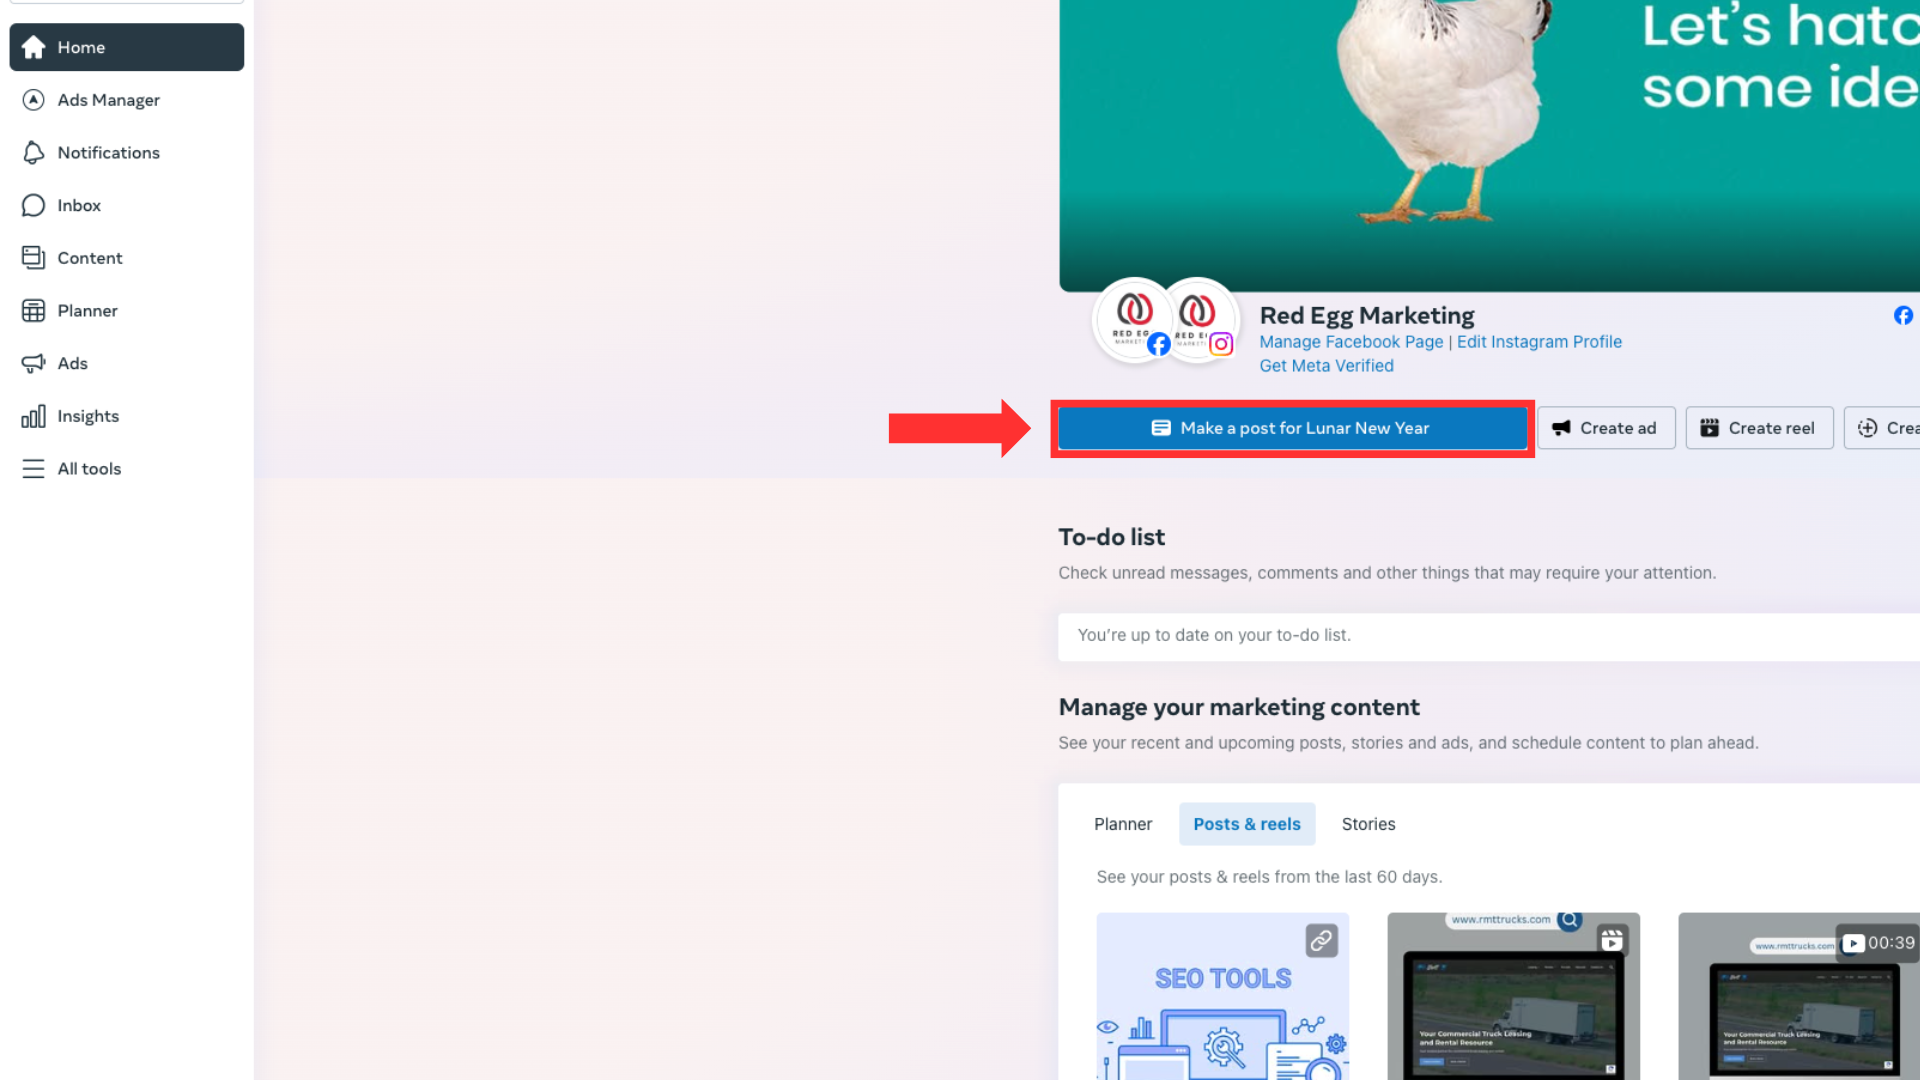
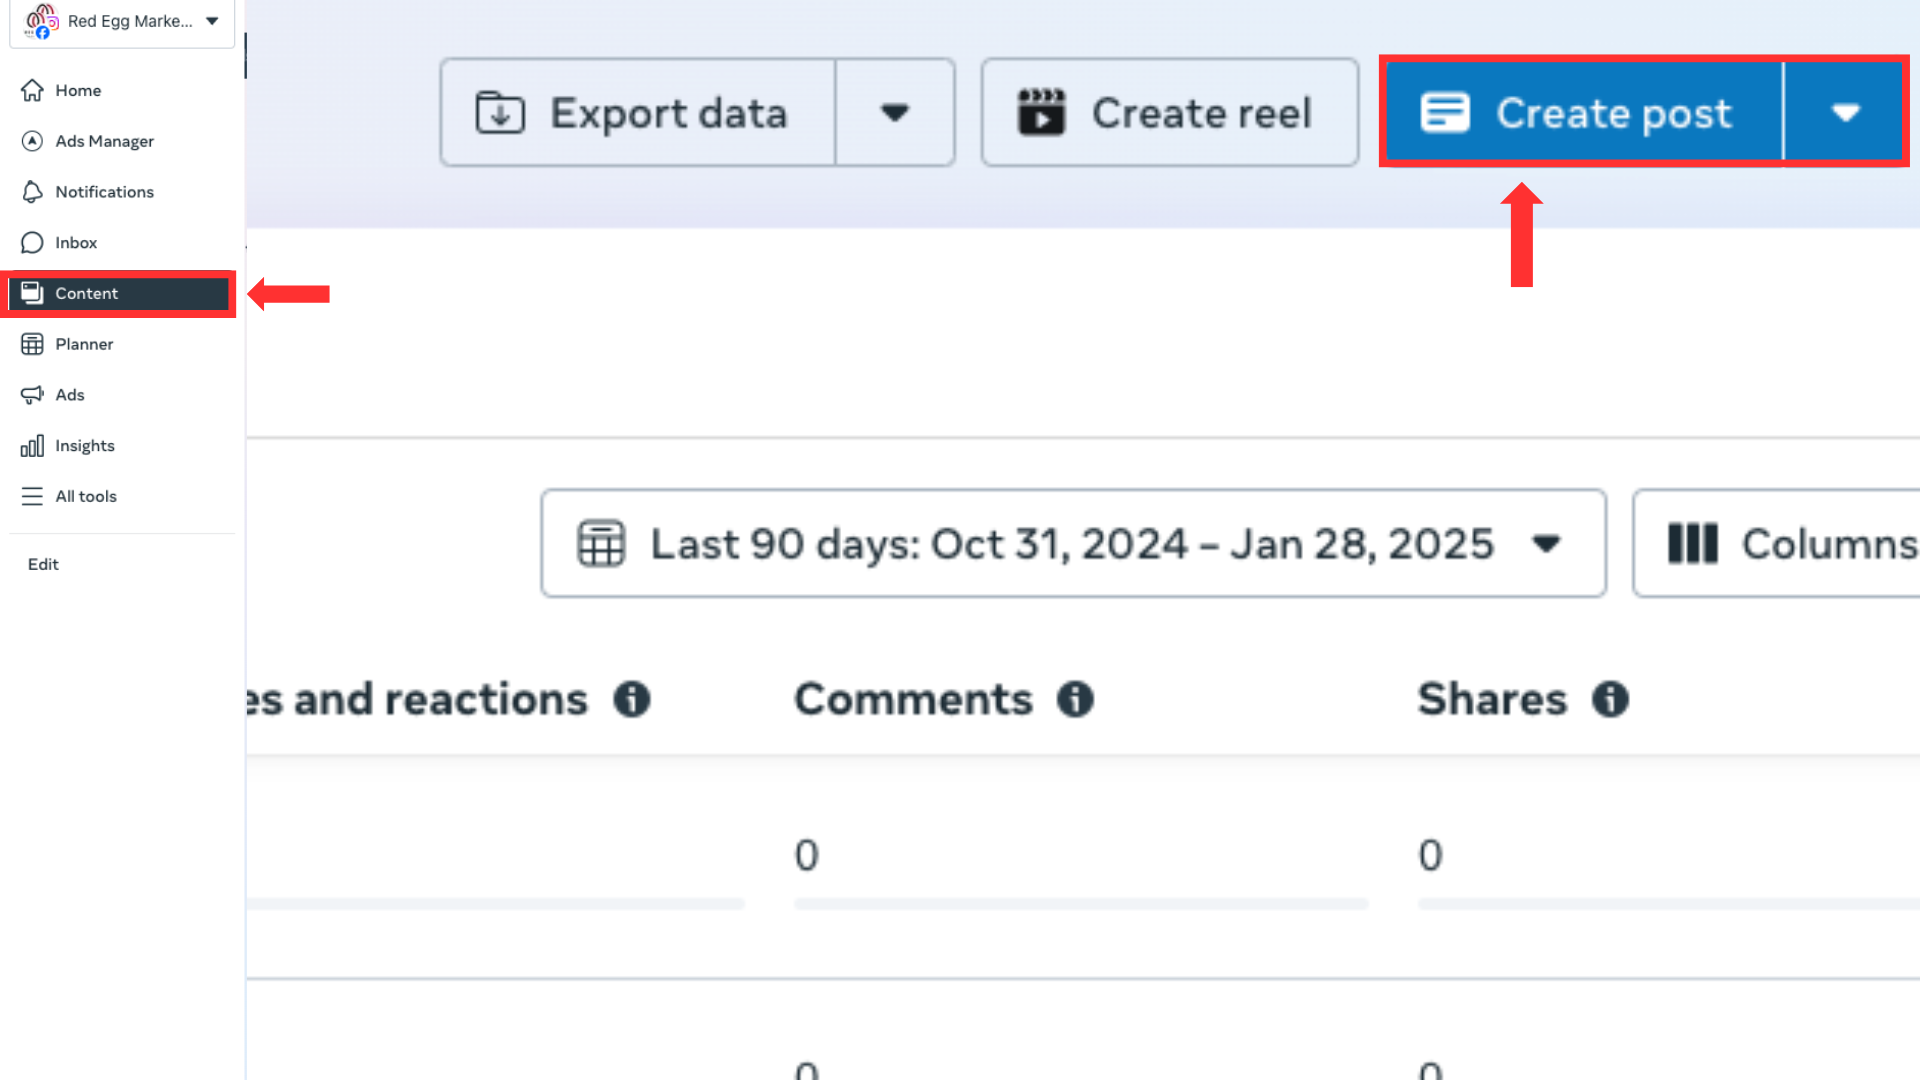
Step 2: Click the Make a Post button at the top of the home screen. Select your Instagram account in the dropdown menu under Post to at the top of the page.
You can also go to the Content tab on the left hand side and click the Create Post button in the top right corner.
-
Step 3: Select the photo or video you want to post and write a caption.
-
Step 4: Turn on the Set date and time toggle switch to the right of Scheduling options, select the date and time you want your content to be published, then click the Schedule button.


Now You Know, But We Can Still Help
You are now equipped with the know-how to publish Instagram content through your web browser, whether it’s directly through the Instagram website or through a third-party platform. But managing an Instagram account can be a handful, especially when you have to worry about overseeing it on your own while tending to other elements of your business. Luckily for you, our social media experts will ensure that your business is churning out regular, quality Instagram content and engaging with your audience in a timely, knowledgeable, and professional manner. Contact Red Egg today and let’s revitalize your business’s Instagram presence!
